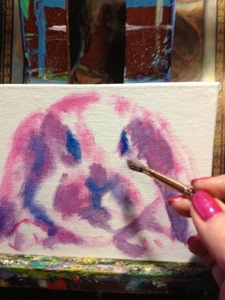
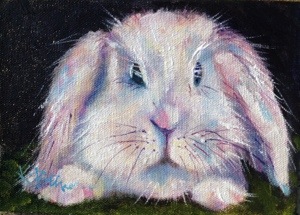
I hope you will enjoy this little bunny rabbit tutorial. I used Golden Open Acrylic paint but this can also be done with oil paints.
Would love to hear from you- have a great weekend!
1. Start outlining the bunny with thin paint
2. Begin blocking in shadows with pinks and purples
3. Shape up eyes with a smaller brush, I researched and studied several eyes first
4. Take time to mix a rich black, I used sap green, ultramarine blue and alizarin crimson ( or mix 3-4 of your darkest colors …..but don’t use black, mix your black, it is well worth the effort)
5. Paint dark black in the background-I wanted a strong contrast and thought the black would contrast with the white bunny
6, Add a layer of neutral creamy beige over the first layer of purple shadows
7. Mix a pretty light blue to accent and create more depth in the shadows
8. Use a nice liner brush to add that thin rabbit hair texture
9. “George”
“Painting is not for sissies”-Ksbunn
- Comment
- Reblog
-
Subscribe
Subscribed
Already have a WordPress.com account? Log in now.


You make it look so easy! Love it!
LikeLike
I’m really diggin’ the bunnies. This one has a great face!
LikeLike
Love the bunny!! I really enjoy seeing the process!
LikeLike
I love this, but don’t think I could master this on my own! Crystal
LikeLike
Thanks Crystal….it’s about the journey for me, if it turns out good well that’s wonderful… it took me years of practice.
LikeLike
You are so smart – I love George the Bunny.
LikeLike
Thanks cheerleader Hope!
LikeLike
Thanks, Kathy! Can u get the paint in bladen or do you order online? And where?
LikeLike
Wibby, I ordered my Golden Open acrylics from Jerrysartarama.com, Wal Mart does not have these paints. They are similar to what we use at our paint parties, but they are formulated to dry much slower allowing more blending time.
Thanks,
K
LikeLike